Start with the observation you need
Decide whether the camera is documenting general use of an area, movement through a narrow opening, or a particular time window. That question determines the framing. A broad landscape view and a close crossing are different jobs; one setting is unlikely to suit both.
Check permission and mounting rules
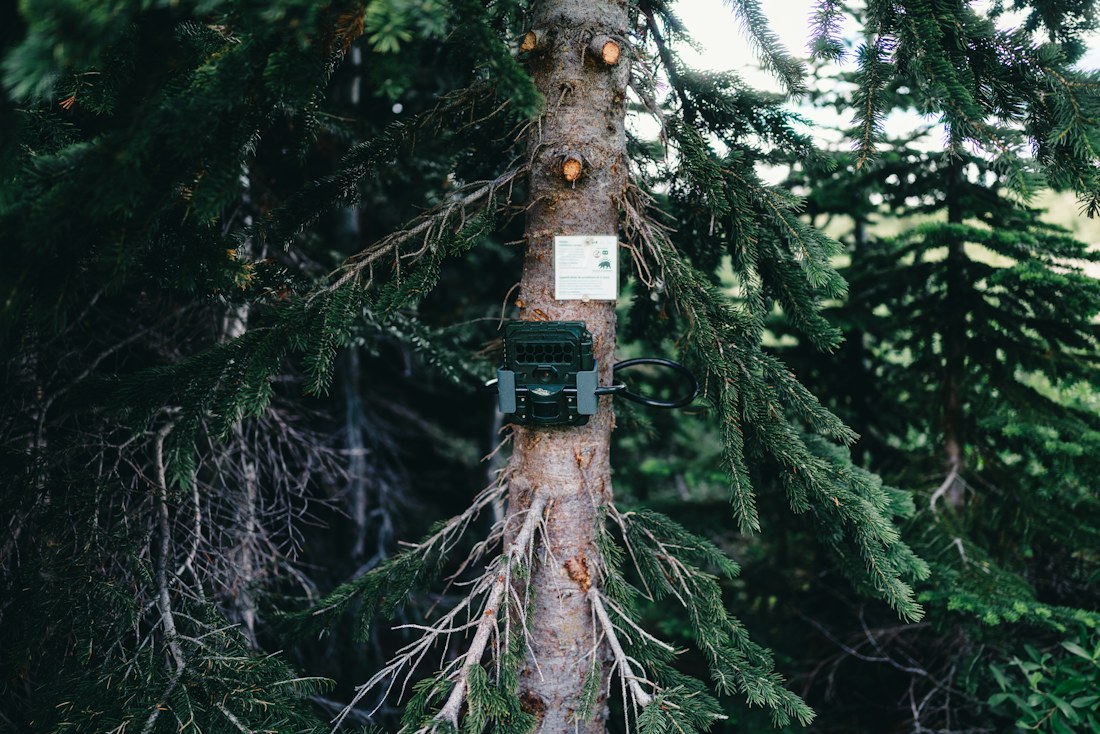
Verify that cameras and your chosen attachment method are permitted where you plan to use them. Avoid including neighboring private spaces or other visitors unnecessarily in the frame. Give each location a consistent name that also appears in your notebook and photo folders.
Make a test image part of setup
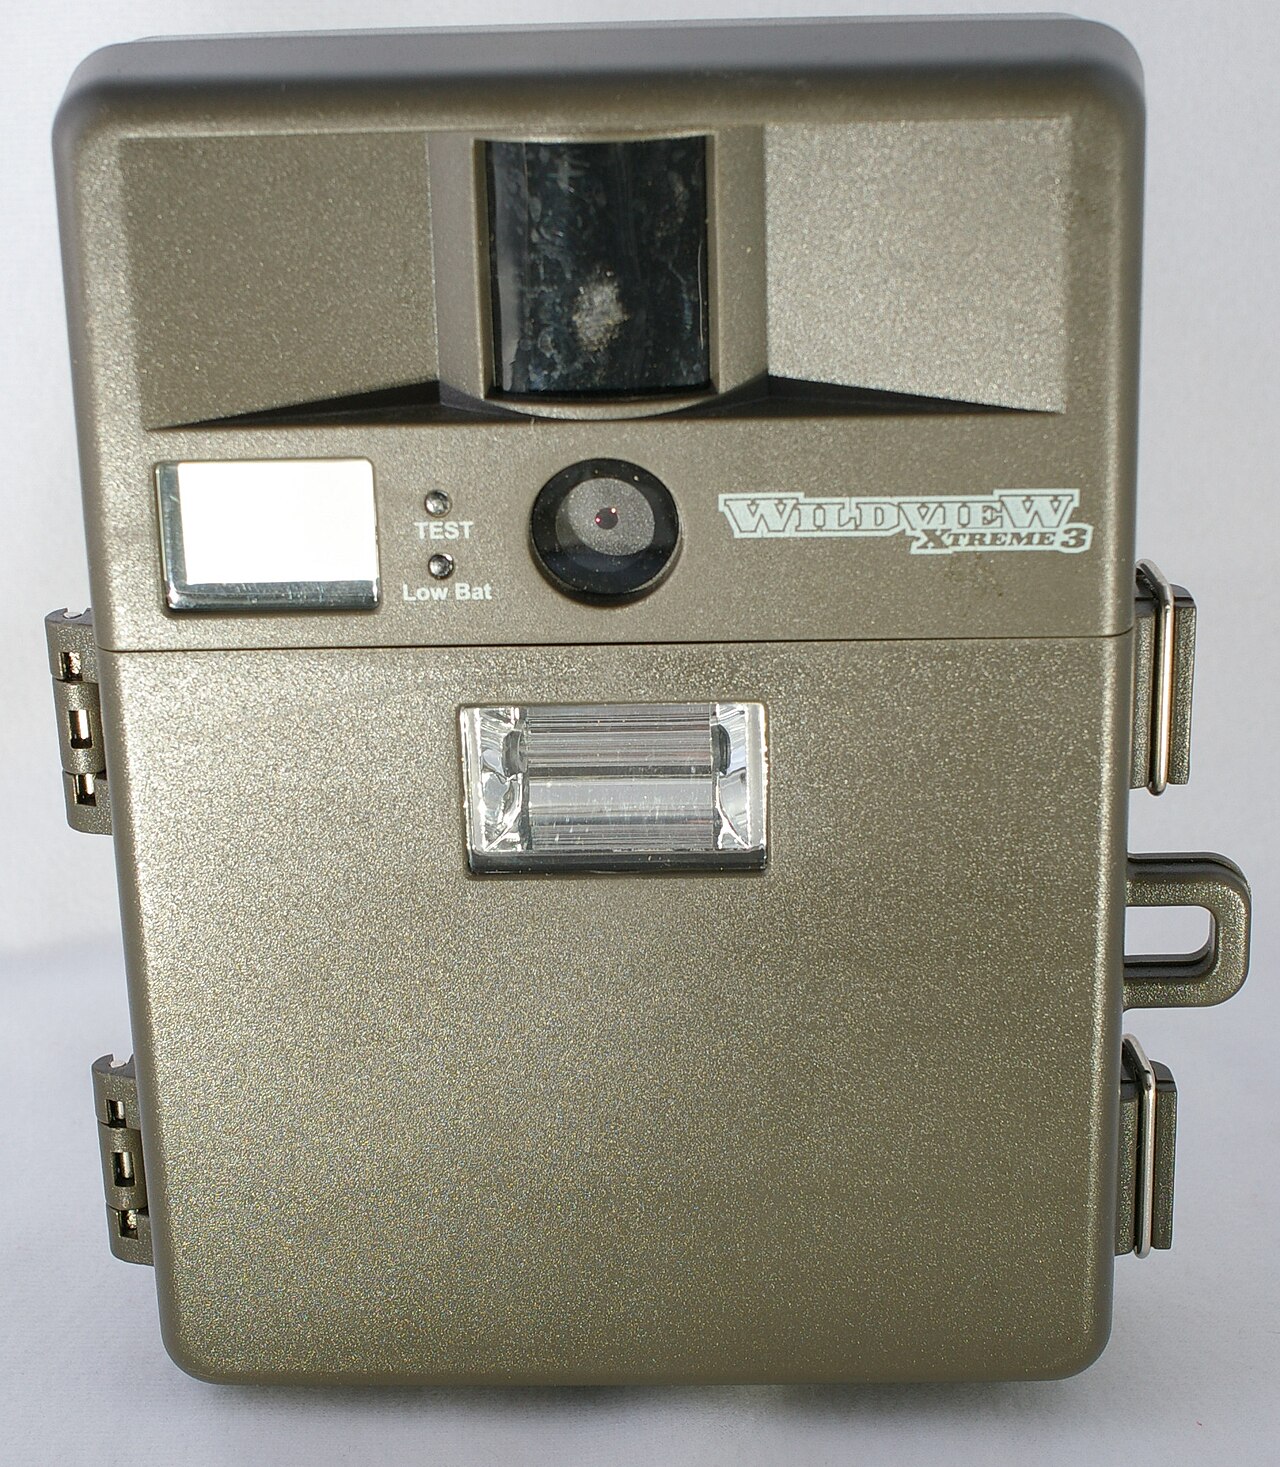
Use the model’s manual to set detection, image mode, and time. Take a test image or use its aiming feature, then inspect what is actually in the frame. Record the date and settings so a later change in results is not confused with a change in setup.
Plan the power and storage job
For a cellular camera, confirm the plan and local connection before leaving it in place. For an SD-card model, confirm the supported card format and capacity. Label cards and battery sets, and carry a way to keep used and fresh items separate.
Compare like with like
Keep track of the days each camera was working and any settings changes. A camera with a dead battery did not record an empty week. When reviewing images, retain a few context notes about coverage and interruptions before deciding what to change next.